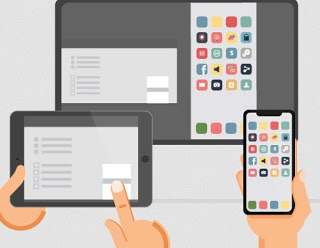
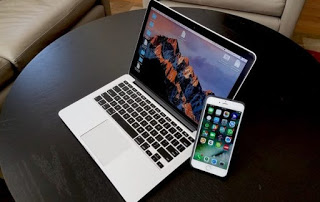
 If we have to record a demonstration video or a presentation of our iPhone to insert it into a document or a PowerPoint slide we will find ourselves in great difficulty, since the only way we know to record the iPhone screen is to create a video with another phone (very unprofessional) or with some paid app available in the App Store.
What few users know is that, using an integrated app on Macs or some programs dedicated to the purpose, it is possible to duplicate iPhone screen on Mac and take all the necessary shots, maintaining a very high quality.
In this guide we will show you then how to mirror iPhone screen to Mac using QuickTime Player app or other similar apps that can capture iPhone screen even without cable connection.
READ ALSO: See iPhone and iPad screen on PC (AirPlay Mirroring on Windows)
How to project iPhone screen on Mac
To project the iPhone screen on a Mac or MacBook we can use the Lightning cable supplied or connect both devices to the same Wi-Fi network, so as to be able to use some special programs that can interface with the iPhone and show the screen on the Mac.
Project iPhone screen via cable
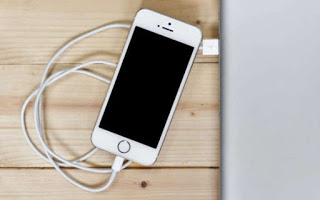
As anticipated in the introduction we can duplicate the iPhone screen on Mac by connecting the phone via Lightning cable and using one of the USB ports on the side or rear of our Mac, MacBook or Mac Mini.
Once the connection has been established, we confirm all the permissions that will appear on the smartphone, also entering the unlock code when requested (necessary to access all the functions).
After this initial phase we open the Launchpad at the bottom of the Mac Dock, look for the QuickTime Player app and start it.
As soon as the app is started, press the top on the menu File, we select New movie recording, we provide the necessary permissions to register the screen and, next to the red registration button, we press the arrowhead, so that we can select theiPhone in the section Video camera.
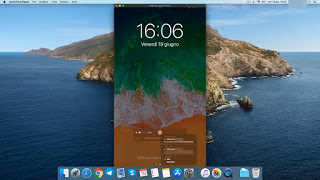
After activating this item we will see the screen of our iPhone appear; to start recording, press the button Rec and we perform all the steps to record on our iPhone, so that we can capture them as a video file on the Mac.
At the end of the recording, press the Stop button at the top right, then save the multimedia file by taking us to the menu File -> Export as.
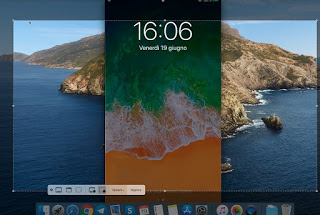
If in addition to the iPhone screen we also want to record a part of the Mac screen or even better the entire screen, all we have to do is set up the duplication of the screen as seen above, press again on the menu File at the top left and click on the item New screen recording.
In the new selection that will open we choose whether to acquire only a part of the screen or the whole screen, then press the key Register below to start recording everything that passes on our monitor or screen.
Project wireless iPhone screen
If we do not want to use the cable to duplicate iPhone screen on Mac, we will have to use a Mac app that can turn it into an AirPlay content receiver, so that we can also transmit the screen of our phone.
The first app we recommend you try is Reflector 3, available as a 7-day free trial on all Macs.
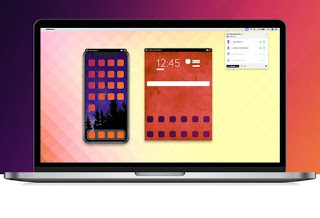
This extraordinary software allows you to turn any Mac (but also Windows PCs and Android devices) into receivers AirPlay, Google Cast or Miracast, with the support for mirroring of multiple devices even at the same time.
To use this valid program, download the DMG file associated with it, install it like all other Mac programs (by dragging the icon of the folder Applications) and, at the end of the installation, start it directly from the Launchpad.
With this program active on the Mac we take our iPhone, make sure we are connected to the same Wi-Fi network where the Mac is connected, then open the Control center (swiping from the bottom edge or the top right corner), we select the item Duplicate Screen and choose the name of the Mac from the list.
We confirm the code that will be shown and, after a few seconds, we will see the screen of our iPhone appear in a dedicated Mac window, ready to be recorded with QuickTime Player (just follow the same steps seen above with the item New screen recording).
The Reflector app itself offers, among its items in the icon at the top right, the Rec button to immediately record the iPhone screen, without going through QuickTime Player.
Alternatively, we can use the AirServer app, also designed to transform the Mac into an AirPlay receiver.
In a very similar way to the Reflector app, just install the app on our Mac, start it and, as soon as it's ready, take us to the iPhone and use the function Duplicate Screen to project the phone screen on the Mac, ready to be captured in a video (using QuickTime Player).
Also in this case the app is for a fee (costs about 17 Euros), but we can try it without time limits for 31 days, so as to have a valid alternative to Reflector ready to use for a full month!
Conclusions
Duplicating the iPhone screen on a Mac is relatively simple and can be done without any additional tools: just use the charging cable to make the connection with the Mac and exploit the potential of QuickTime Player; for those who want to make a wireless connection we can try two valid programs for free that transform our Mac into an AirPlay receiver, so that we can quickly project the screen and record it.
We don't know how to connect an Android smartphone to Mac? Let's see all the methods available in our guide right away How to connect smartphone to Mac.
If we are looking for apps to record the screen directly from the iPhone, it is better to use those reported in the guide How to record screen on iPhone.

